Ready to become a game developer? Roblox Studio makes it easier than you think.
If you’ve ever dreamed of making your own game, there’s no better place to start than Roblox Studio. This free tool lets anyone—yes, even beginners—create games for millions of players around the world.
Whether you want to build an obby, a simulator, a roleplay world, or your own version of Brookhaven, this guide will help you get started with your first game today.
🎮 What Is Roblox Studio?
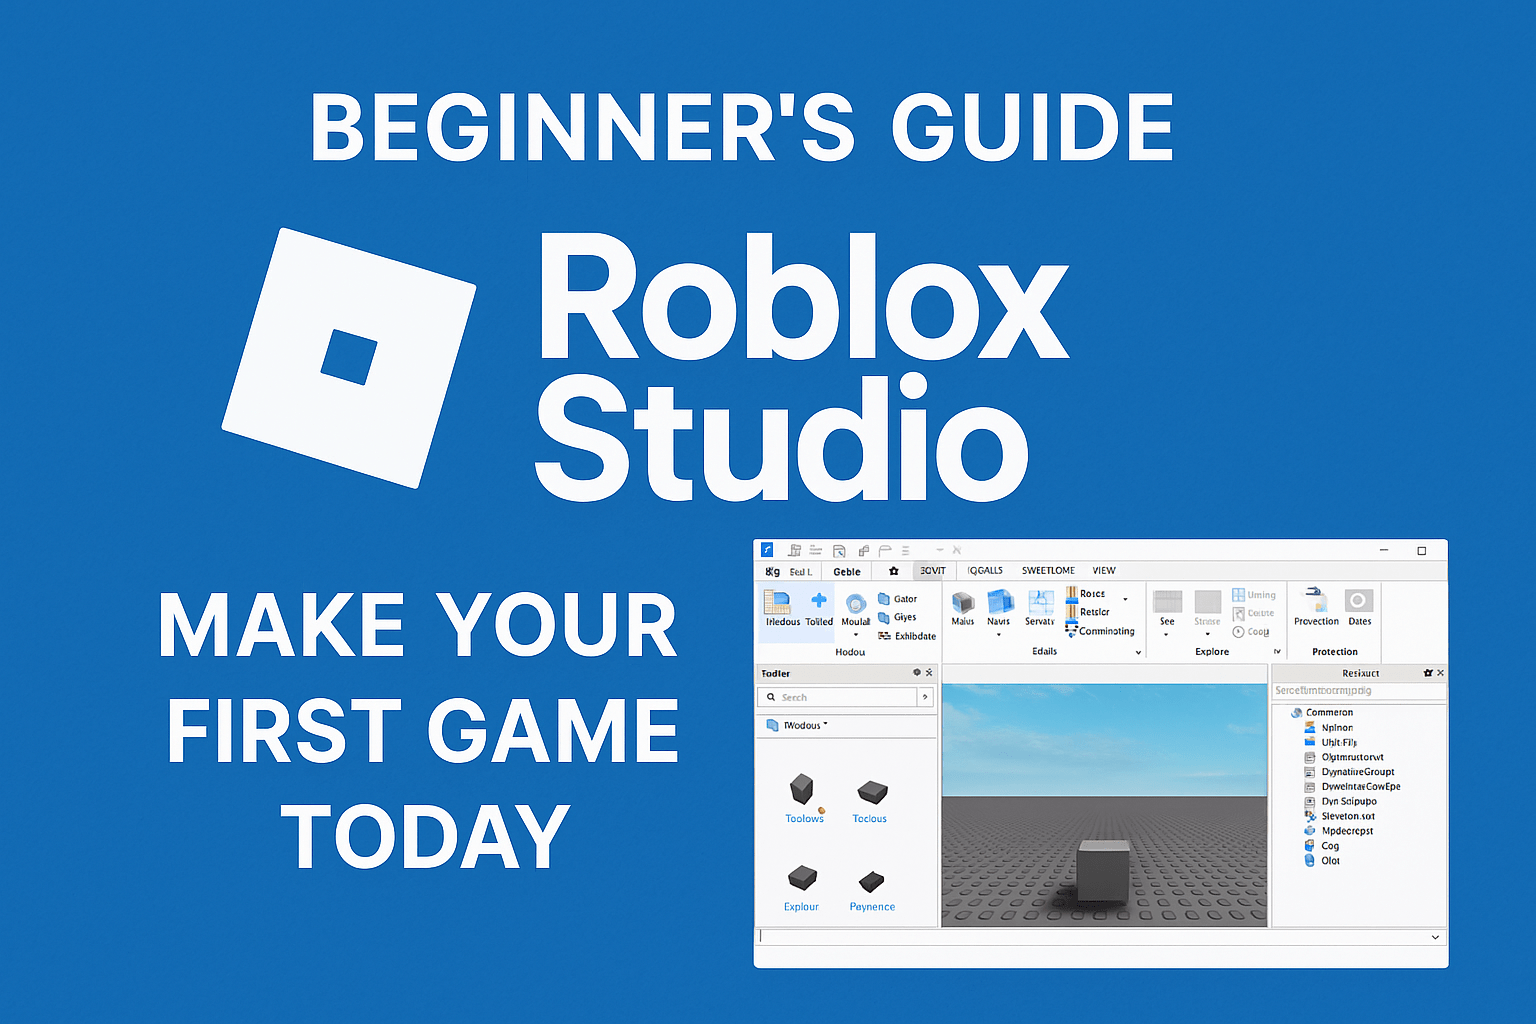
Roblox Studio is the official game development tool for Roblox. It’s where all the magic happens—creators use it to design worlds, script actions, add sound effects, and publish games.
And the best part? You don’t need to know advanced coding to make something amazing.
🧰 Step 1: Download Roblox Studio
Before you can start building, you need to download Roblox Studio:
- Go to www.roblox.com/create
- Log into your Roblox account.
- Click Start Creating to download the Studio.
Once installed, launch it—and welcome to your new game dev journey.
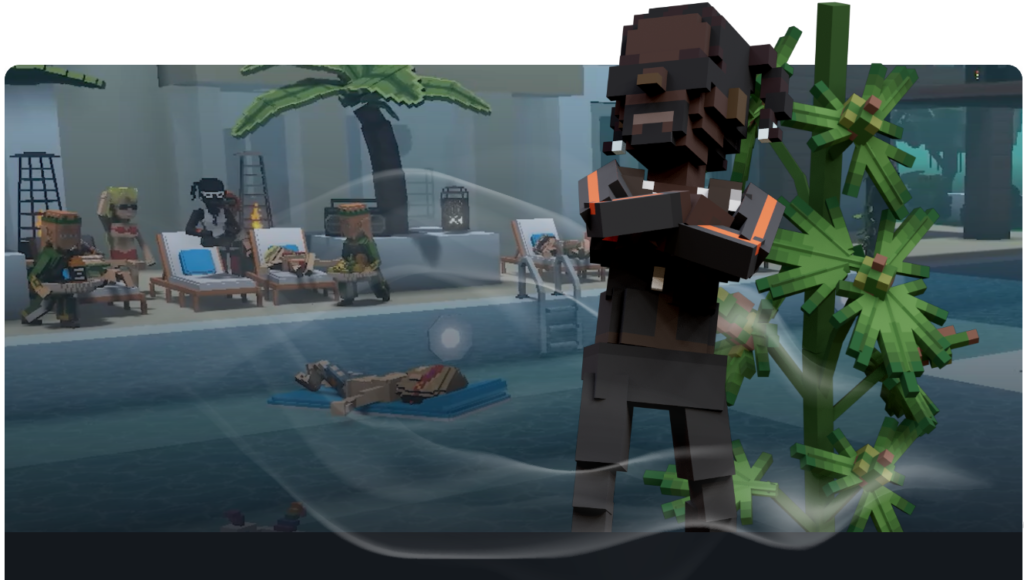
🏗️ Step 2: Choose a Template
When Roblox Studio opens, you’ll see several templates to choose from:
- Baseplate: A blank canvas for full creativity.
- Obby: Start with an obstacle course setup.
- Racing, City, or Castle: Pre-made environments to edit and build on.
For your first game, we recommend Obby or Baseplate.
🧱 Step 3: Learn the Tools
Take a few minutes to explore the tools:
- Select, Move, Scale, Rotate – For placing and shaping objects.
- Toolbox – A library of free models (trees, cars, NPCs, etc.).
- Explorer and Properties – Where you manage objects and change their settings.
Tip: Use the Play button to test your game in real-time!
📜 Step 4: Add Interactions with Scripts (Optional)
Want a button that opens a door or a platform that disappears? That’s where scripting comes in.
Roblox uses Lua, a simple programming language. Don’t worry—you can start small.
Example:
luaCopyEditscript.Parent.Touched:Connect(function(hit)
   print("You touched the brick!")
end)
There are also free scripts in the Toolbox to help you get started.
🌍 Step 5: Publish Your Game
Once your game looks and feels ready:
- Click File > Publish to Roblox As…
- Name your game, add a description and icon.
- Set it to Public so others can play!
Congratulations—you’re now a Roblox game developer!
🚀 Bonus Tips to Level Up
- Join the DevForum to learn from others.
- Watch YouTube tutorials for scripting help.
- Add music and sound effects for extra immersion.
- Keep improving your game based on feedback.
💡 Why Learn Roblox Studio?
Learning Roblox Studio teaches real-world skills like:
- Problem solving
- Coding and logic
- Game design
- 3D modeling
- Entrepreneurship (yes, you can earn Robux from your game!)
Whether you’re a kid with a creative mind or a teen looking to build the next big hit, Roblox Studio is the perfect starting point.
Final Thoughts
Don’t worry about making the perfect game on day one. Every great developer starts small. The most important step is just starting. So open Roblox Studio today, and begin building the game you want to play.